Trezor Hardware - Wallet | Getting Started
If you're new to the world of cryptocurrency, understanding how to use your Trezor Hardware - Wallet | Getting Started guide is essential for keeping your digital assets safe. With a growing number of online threats and scams, learning how to securely store Bitcoin, Ethereum, and other tokens is more critical than ever. This article will walk you through the basics of setting up, securing, and using your Trezor device with confidence.
Why Choose Trezor Hardware - Wallet | Getting Started
The main reason many users trust Trezor Hardware - Wallet | Getting Started is because of its proven security, open-source firmware, and ease of use. Trezor devices, including the Trezor Model T and Trezor One, allow you to manage crypto assets offline, protecting you from phishing, malware, and exchange hacks.
- Trezor Hardware - Wallet | Getting Started ensures your private keys never leave the device.
- Compatible with popular wallets like MetaMask, Exodus, and Electrum via Trezor Hardware - Wallet | Getting Started.
- Works seamlessly with Trezor Suite, the official desktop and web app from SatoshiLabs, as part of your Trezor Hardware - Wallet | Getting Started journey.
Unboxing Your Trezor Hardware - Wallet | Getting Started
When you receive your package, begin your Trezor Hardware - Wallet | Getting Started experience by checking the box for tampering. Inside, you'll find the Trezor device, a USB cable, recovery seed cards, stickers, and a user manual. It's important to make sure all items are present before proceeding.
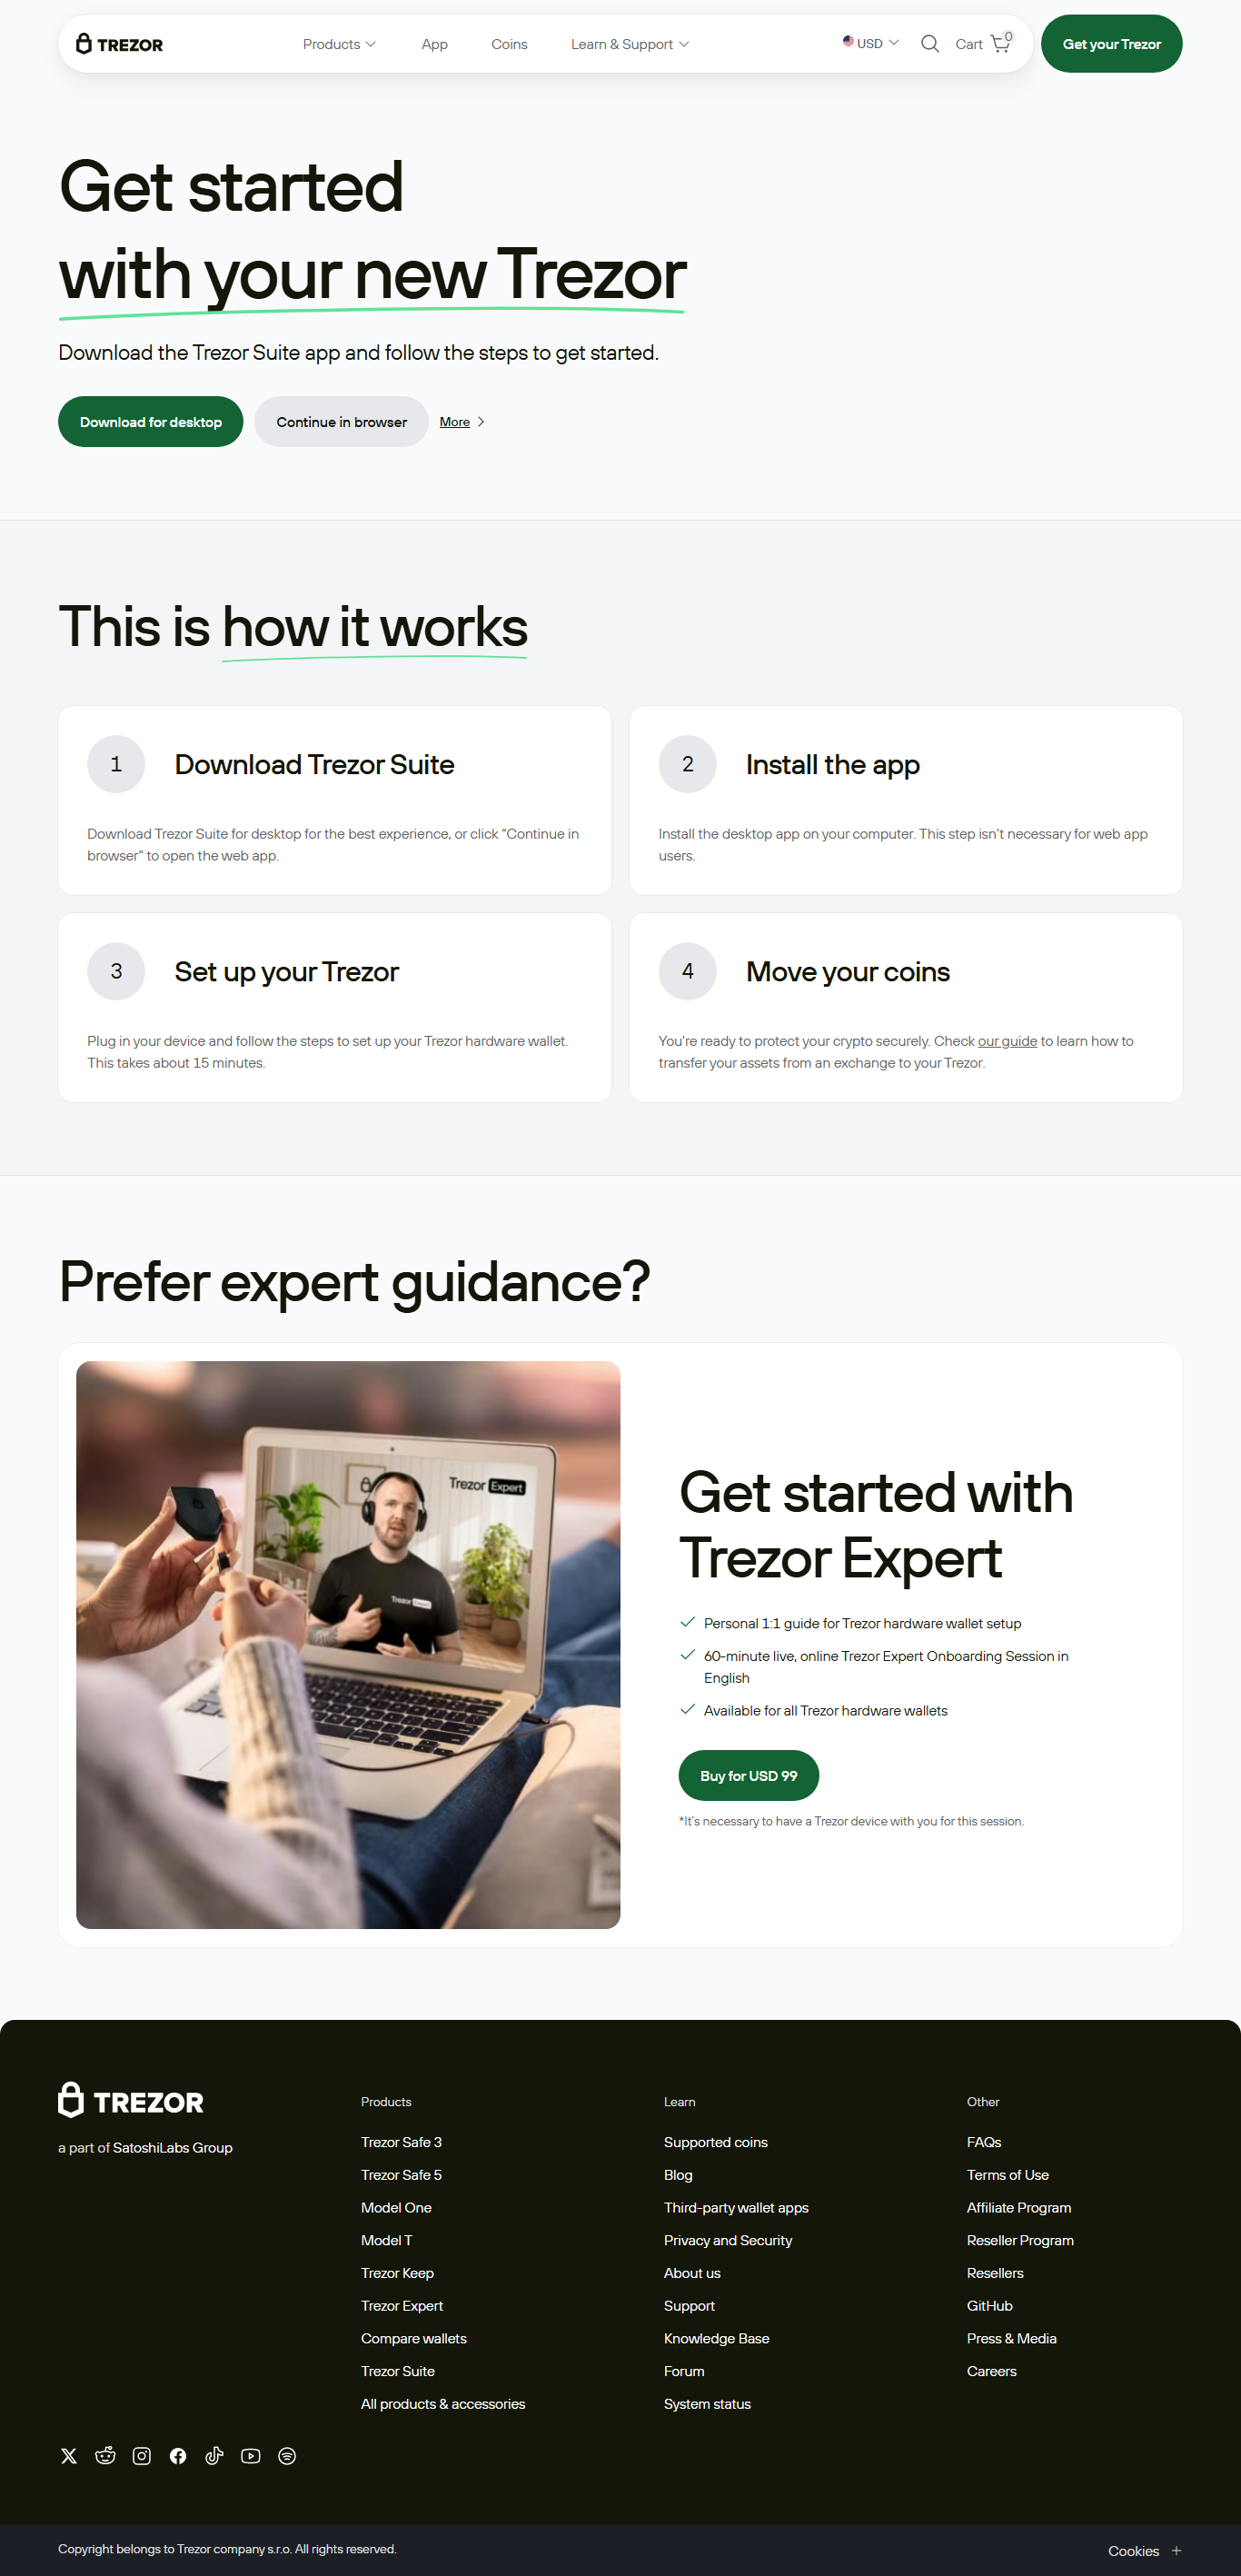
Setting Up Your Trezor Hardware - Wallet | Getting Started
To start with Trezor Hardware - Wallet | Getting Started, connect the device to your computer and open the Trezor Suite app (available at trezor.io/start). Follow the on-screen instructions to install firmware, create a new wallet, and record your 12 or 24-word recovery seed. Never share or store your seed digitally — it's the key to your entire Trezor Hardware - Wallet | Getting Started setup.
- Connect via USB and launch Trezor Suite for a smooth Trezor Hardware - Wallet | Getting Started process.
- Create a PIN to add a second layer of security to your Trezor Hardware - Wallet | Getting Started.
- Write down your recovery seed — this is critical to restoring your Trezor Hardware - Wallet | Getting Started if lost.
Managing Crypto with Trezor Hardware - Wallet | Getting Started
Once set up, Trezor Hardware - Wallet | Getting Started lets you send, receive, and manage over 1,000 coins and tokens through Trezor Suite or supported third-party apps. Popular cryptocurrencies such as Bitcoin, Litecoin, Cardano, and ERC-20 tokens can be tracked and transacted directly using your Trezor Hardware - Wallet | Getting Started device.
Security Best Practices for Trezor Hardware - Wallet | Getting Started
To ensure the highest level of protection with Trezor Hardware - Wallet | Getting Started, enable features such as passphrase encryption, two-factor authentication, and Shamir Backup (on Trezor Model T). These advanced layers give peace of mind when dealing with long-term crypto storage through Trezor Hardware - Wallet | Getting Started.
- Use a strong, memorable PIN on your Trezor Hardware - Wallet | Getting Started.
- Store your recovery seed in a fireproof or offline vault for Trezor Hardware - Wallet | Getting Started security.
- Update firmware regularly to keep your Trezor Hardware - Wallet | Getting Started protected against new threats.
Using Trezor Hardware - Wallet | Getting Started with DeFi and Web3
For those exploring decentralized finance, Trezor Hardware - Wallet | Getting Started offers integrations with platforms like Uniswap, Aave, and Curve via MetaMask. You can connect your hardware wallet and interact with dApps safely, ensuring transactions are signed on the physical device through your Trezor Hardware - Wallet | Getting Started interface.
Troubleshooting Common Issues in Trezor Hardware - Wallet | Getting Started
Occasionally, you may run into connectivity or firmware issues during your Trezor Hardware - Wallet | Getting Started experience. Most problems are resolved by restarting the device, checking USB cables, or reinstalling the Trezor Bridge software. For persistent concerns, the Trezor Support Center offers helpful articles specific to Trezor Hardware - Wallet | Getting Started.
Conclusion: Embrace the Power of Trezor Hardware - Wallet | Getting Started
Whether you're a crypto beginner or experienced HODLer, Trezor Hardware - Wallet | Getting Started is the first step toward self-sovereign asset management. With robust features, unmatched security, and a user-friendly interface, Trezor Hardware - Wallet | Getting Started sets the standard for cold storage solutions worldwide.